
How I Make Bouffant Surgical Hats
- mumsyreigle

- Jan 28, 2022
- 6 min read
Updated: Jan 31, 2022
Watch this video for the full tutorial!
I'm Sonia Reigle, and I'm going to show you how I make Bouffant surgical caps.
This pattern has a little pocket in the back, especially for people that have long hair.
It's also perfect for small adult heads, so you may need to size up a bit.
Let's start with the pattern!
Step 1. The Pattern
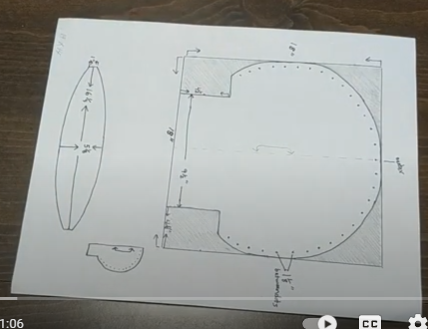
I started with 18 inches (45.72 cm) across by 18 inches up and down (that's the square outline you see).
The bottom edge is 9 1/2 inches (24.13 cm) and the side edges going straight up from there are 4 1/2 inches (11.43 cm).
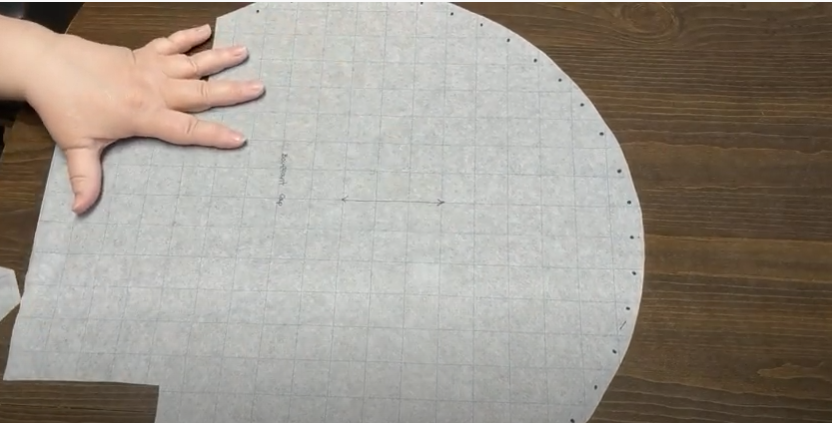
There are 31 dots going around the rounded edge. One dot is in the middle, and fifteen going down on each side of that.
The dots are spaced apart by 1 1/8 inches (2.8575 cm).
You can choose to either draw it out as I've shown in the larger image, or you can fold it in half and cut it on the fold (as shown in the small image).
I prefer to draw out the full pattern, because then I can put little holes in where the dots are.
That way I can lay it on the wrong side of the fabric and mark on it directly with a tailor's pen.
That makes it much easier to keep the pleats even and tidy!
Here you can see that I've drawn and cut my pattern from a piece of gridded Pellon paper.
This kind of paper is made for pattern making and can be found nearby where interfacing fabric sold.
If you'd prefer, you can also make your pattern pieces out of newspaper, the inside of wrapping paper, or even scrap fabric.
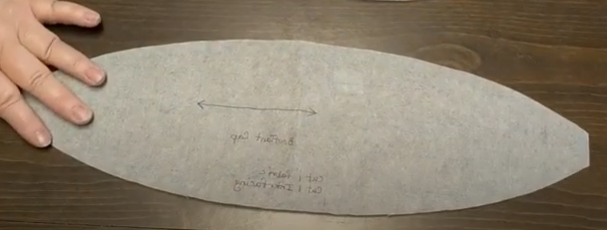
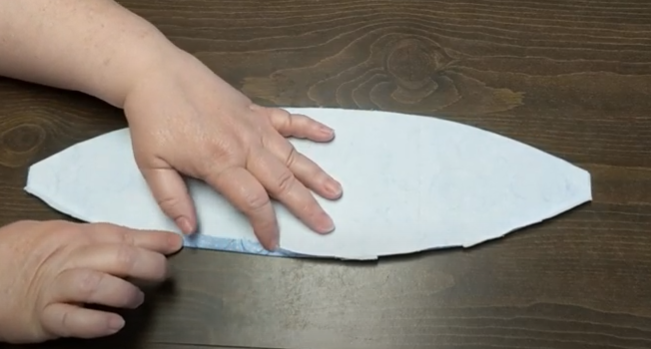
The next pattern piece is the boat shaped part you see on the left side, which will become the brim.
This piece is 16 1/4 inches (41.275 cm) long, the middle is 5 1/8 inches (13.0175 cm) wide, and each end is 1 inch (2.54 cm) wide.
You can start with a pattern that you already have, or download one from the internet if you'd like.
This is just the pattern that I created to suit my family's needs.
Step 2. The Materials
You will need one of each of these pattern pieces cut out of your desired fabric.
I recommend 100% cotton.
Additionally, you'll need one piece of the brim shape cut out of fusible interfacing material.
Later, you'll need a 6 inch (15.24 cm) piece of 3/8 inch (0.9525 cm) elastic
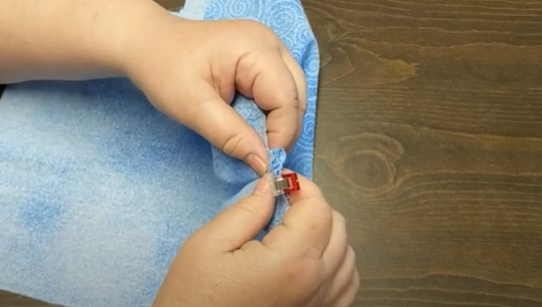
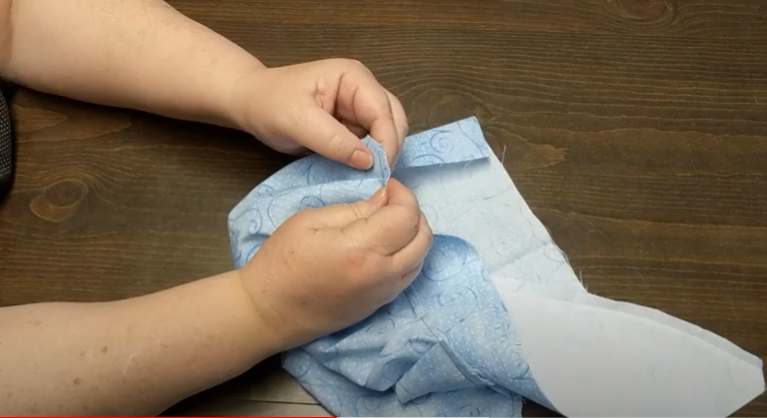
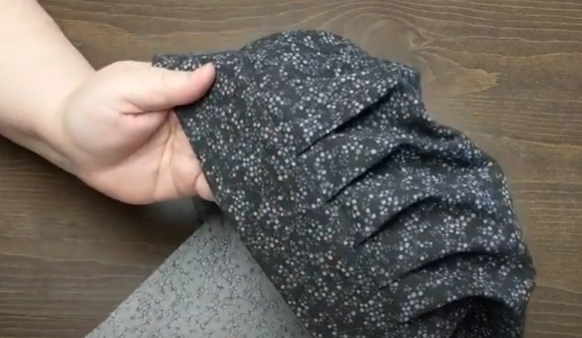
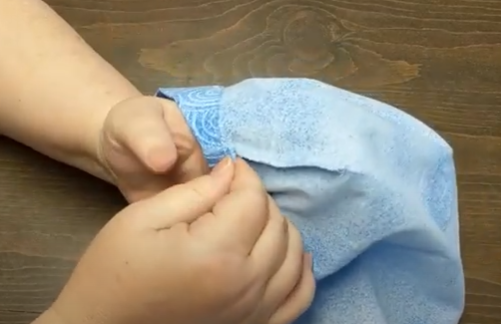
Step 3. Fold the Pleats
Start by finding that center dot that I mentioned earlier.
Take the dot just to the right of the center, and bring it into the middle.
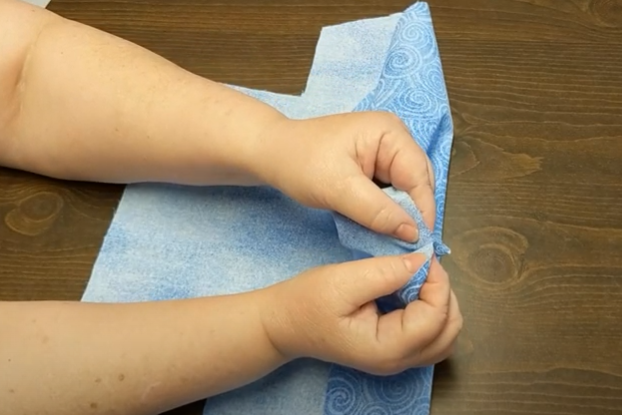
Match the dots up in the middle, making sure that the wrong side of your fabric is what's facing you.
Then, fold that little point you've just created over to the right side and pin it in place.
That will be both the right side as in direction, and the right side of the fabric that you just folded it down on.
You can use pins to hold the pleats down, or clips, as you see me use.
Next, do the exact same thing to the left side, this time folding it down to the left.
This will be the only pleat that gets treated the same to the left and right.
After the center is done, you will go down either side, folding the pleats.
Taking the two dots next to the last pleat you finished, you'll match them together to get your first fold of the new pleat.
Then just fold it down as you did before.
On the right side, you will only fold the pleats to the right, and on the left side, only fold them down to the left.
After that's done, and all of the pleats are pinned or clipped, it's time to sew.
You can do this by hand or by machine, depending on your preference.
You'll sew down all of the pleats, using a 1/4 inch (0.635 cm) seam allowance, as shown.
Step 4. Start the Brim
Take the brim pieces of both the fabric and the fusible interfacing.
These get ironed together, which will fuse them into one thick piece.
Take one of the long sides and fold and iron about 1/4 of an inch (0.635 cm) of the edge down.
I like to make small snips just a little way in from the edge (don't cut too far!), especially along the curves, so they'll fold down neatly.
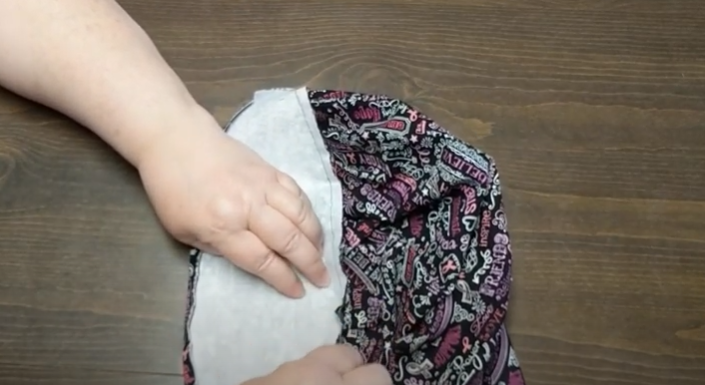
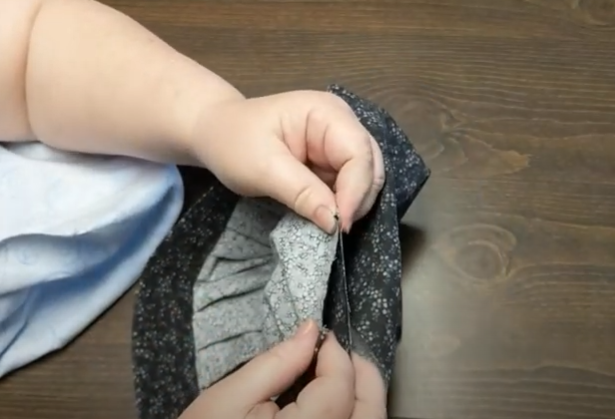
Step 5. Attach the Brim
Make sure that you are putting the long edge of the brim that is NOT folded against the hat piece.
Using the smooth side of the brim, you'll put its right side against the wrong side of the hat piece.
That way, looking from one direction, you'll only see either rights sides or wrong sides.
Starting from one side, you're going to match the edges up and pin or clip them together.
Then, instead of moving toward the middle, I find that you get a more even result if you match up the other end next.
Gradually work your way toward the middle from both sides at once.
Once the two edges are all pinned together, it's time to sew again.
Since you already sewed the pleats down, you can follow that same line to sew these layers together.
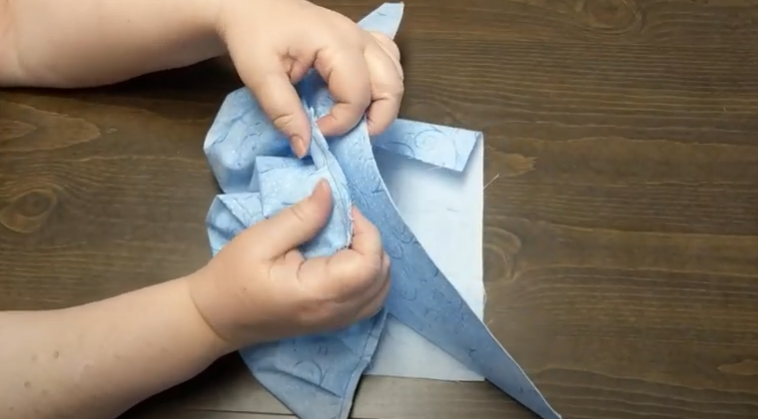
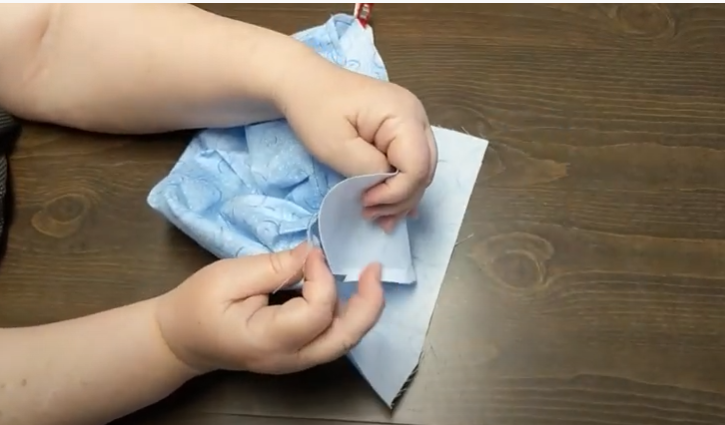
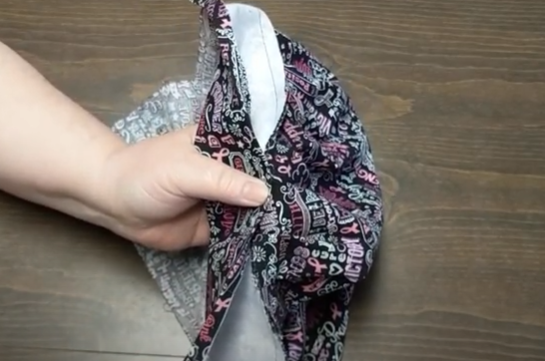
Once your brim is attached to your hat, the next step is to flip it.
This should hide the fusible interfacing inside of the brim.
(This is a different fabric, because I had it prepared ahead of time for the video. you'll see me swap hats a few times.)
Since you ironed down the other edge of the brim earlier it will be so much easier to do the next part!
You may want to make little snips along the curve so that the seam you just finished sewing will lay down neatly.
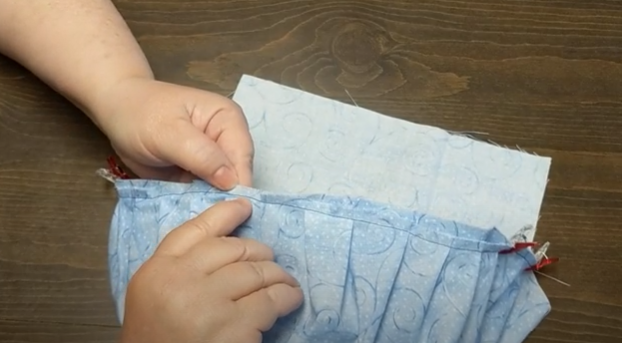
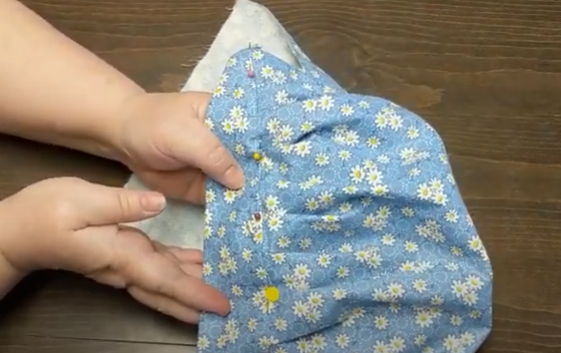
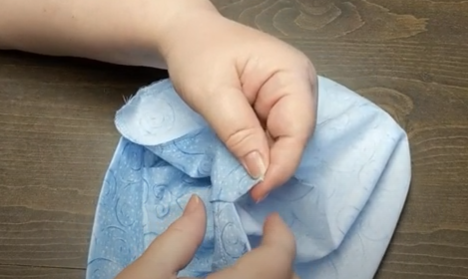
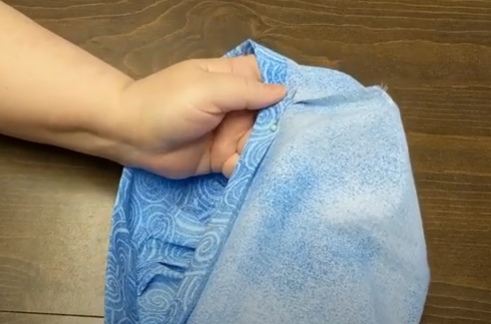
Take the outer edge of the brim and bring it in toward the seam you just sewed (attaching the brim to the hat).
The wrong sides should be facing together, and will be completely obscured from view.
The ironed down edge should be lined up just past the seam beneath it.
When pinning this part in place, I also go from side to side, just to make sure it doesn't pucker.
The brim should be neat and looking nearly like the end result once it's all pinned.
It should be sewn very close to the edge, but not over it.
If you plan on ironing it smooth, this is the best time to do that.
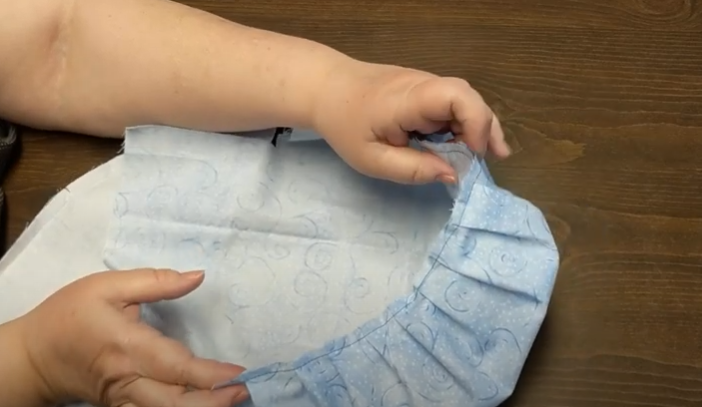
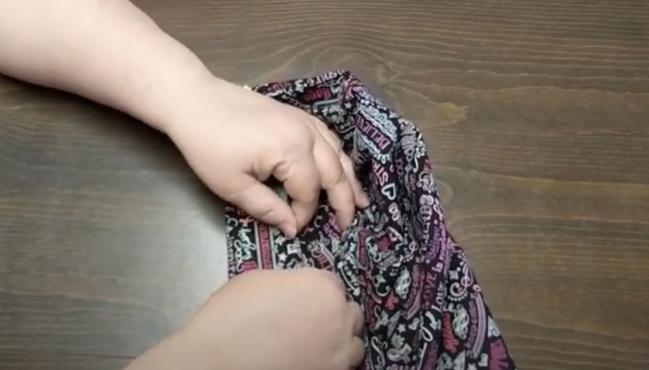
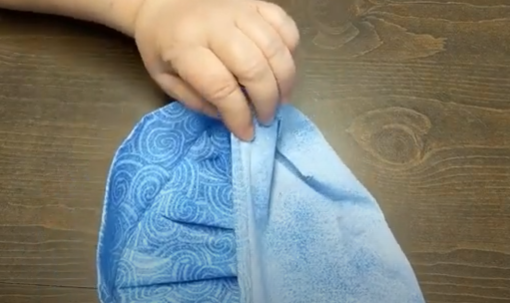
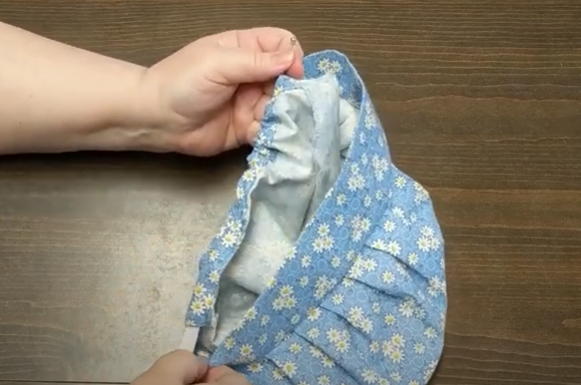
Step 6. Form the Hair Pocket
For the next step, you'll be working with that flap on the back of the hat.
Taking the side edge of the bottom, you'll fold it back on itself, right sides together.
It should be lined up with the little space between the brim and the edge your working with.


There will be an extra bit of length on the one side that will be taken care of after.
It's time to sew again, going from the folded point to the outside edge.

If you have a Serger machine, I would suggest using it for this part.
If not, a zig-zag stitch over top of your straight stitch will do just as well.
Do both sides the same way.
I then like to serge along the bottom edge, just to keep it tidy.
Step 7. The Elastic
Next, that little extra edge on each side (mentioned earlier as a little extra length) gets folded and stitched down, like a 1/4 inch (0.635 cm) hem.
These will form the ends of the tunnel for the elastic, so it helps to have them sewn down and out of the way.
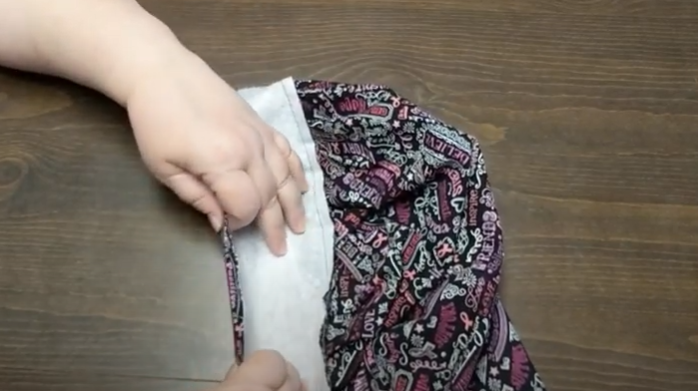
After both sides are stitched, it's time to make the tunnel for the elastic to go through.
You'll fold up the bottom edge, which you may have serged, and then fold it up again.
Once that's pinned into place, you'll want to sew along the edge, leaving both ends open.
Make sure that you are keeping the tunnel wide enough for your elastic to fit through the middle all the way along.
Then feed the elastic through.
I use an elastic turner, but you might be able to use something like a safety pin to accomplish this.
Be sure to keep the end of your elastic out and pinned in place while you thread it through, so you don't lose it.
Once the rest is in, pin the other end, and sew it in place as closely lined up to the edge as you can manage.
Then, I like to sew another anchor in place a little bit farther in from the edge, just to make sure the elastic doesn't fray and come loose.
Do the same at both ends of the elastic, and then you're done!
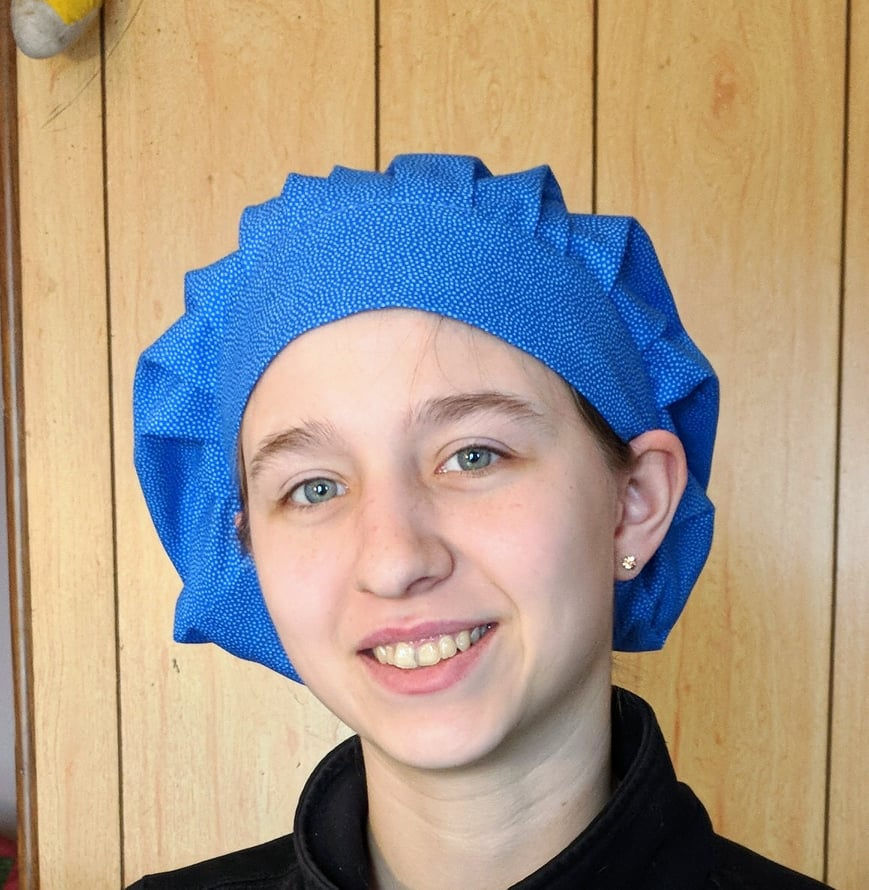
Here's the finished product!


Comments